BEPRO Space
BEPRO Editor
Cerberus
Login & Signup
Request Match Analysis
1
BEPRO Editor
Basic
All Users
Custom recording view
Let's learn how to add custom recording view to clips
Hello from the BEPRO team!
In this article, we'll explore the custom view recording feature that allows you to apply your desired view to footage.
Panoramic footage captured with BEPRO cameras is essentially provided with a tactical view that effectively captures match situations. However, you can disregard this and record the screen anew according to your preferences.
Custom view input only works with panoramic footage captured by BEPRO cameras and does not function with directly uploaded videos, so please bear this in mind.
Custom View Recording Methods
There are two ways to record custom views: using the custom view recording button in the timeline header, or using the right menu panel after selecting a clip.
Shall we examine the menus displayed on the screen together?
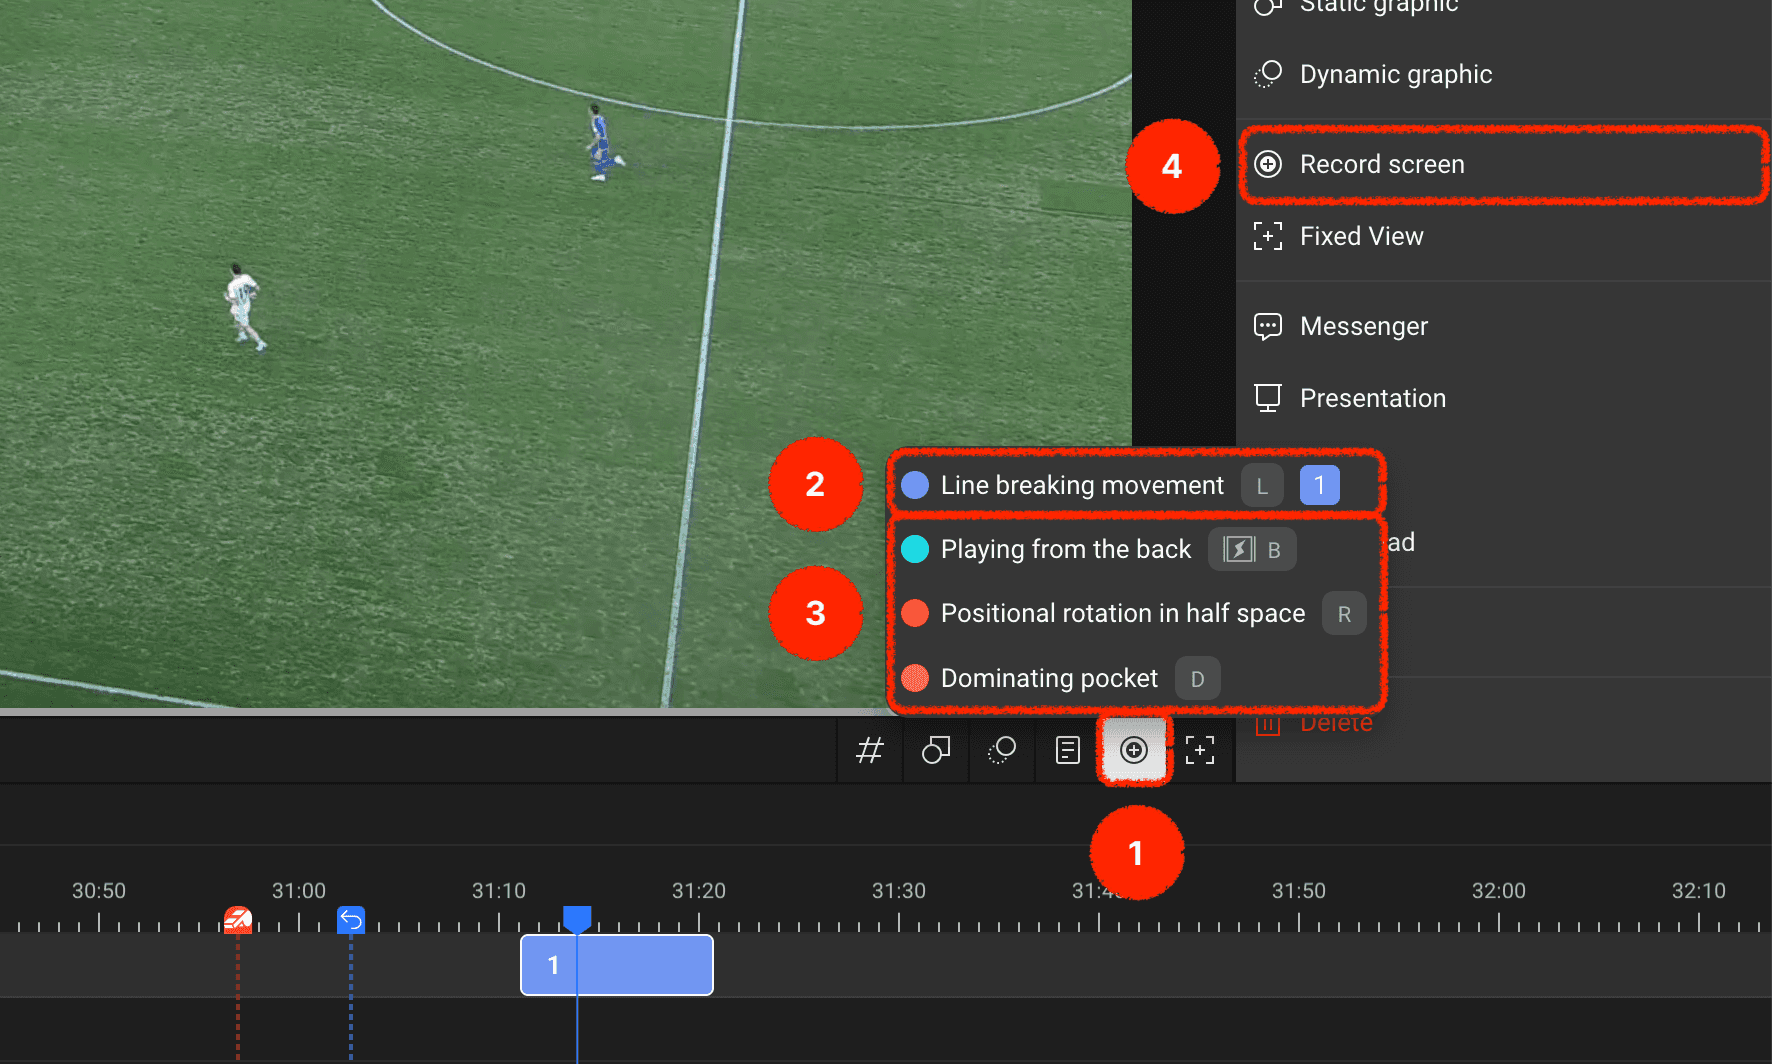
You can add custom views to your desired label track using the custom view recording button in the timeline header.
If there is a label track with a clip created at the current playback time, you can record a custom view directly to that clip.
For label tracks without clips created at the current playback time, you can create a clip and simultaneously record a custom view.
Alternatively, you can select a specific clip and then record a custom view through the screen recording menu in the right panel.
Starting and Ending Recording
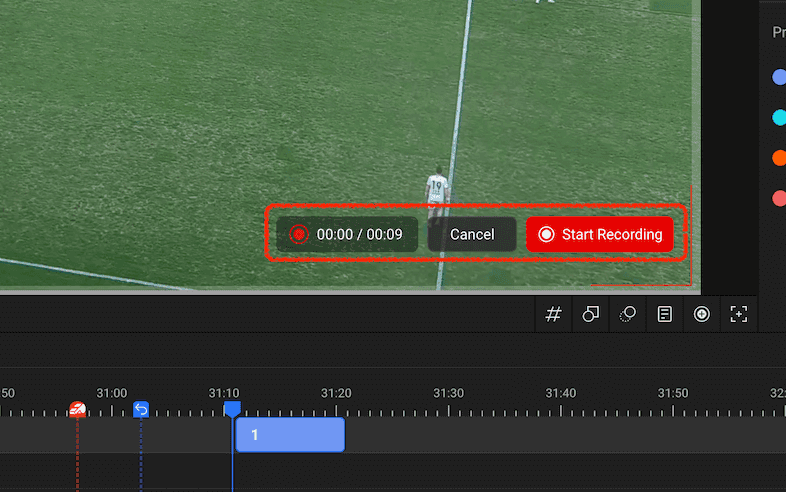
When you begin custom view recording, a recording start button appears in the bottom right of the video area, which you can click to start recording.
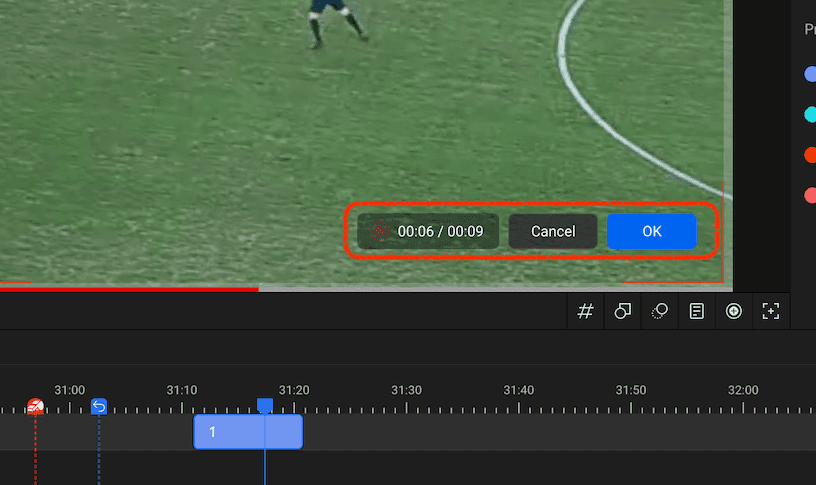
Once recording begins, the recording start button changes to a confirm button, and after recording all the desired scenes, you can press the confirm button to complete the recording.
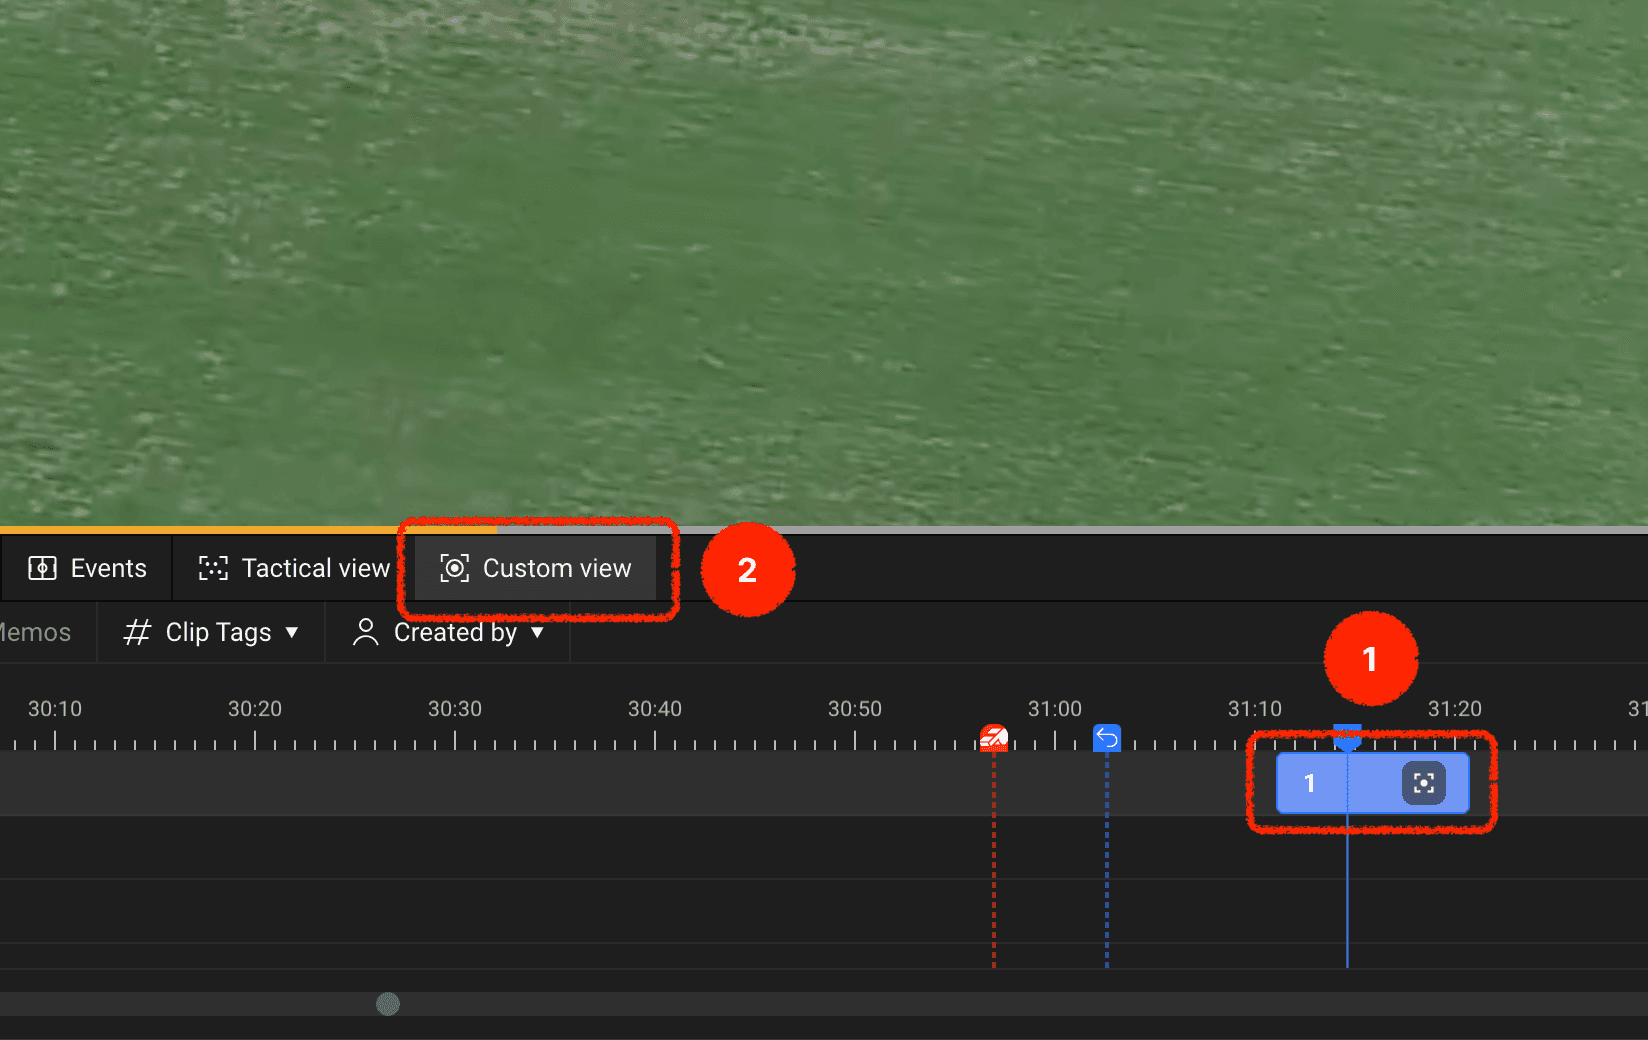
Clips with custom views added after recording completion will display a custom view icon.
When you double-click and play such clips, a custom view option button appears in the timeline header that allows you to toggle the custom view input for that clip on and off.
Use the custom view options to capture exactly the screen you want more precisely and communicate with your team members!
Previous